Can you Repair Damaged Vinyl Car Wrap

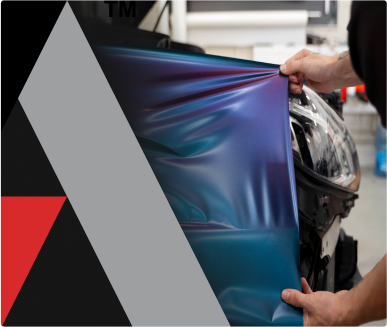
Wrapping a car bonnet (also known as the hood) with vinyl wrap is a popular way to change the appearance of your vehicle, protect the original paint, and add a personalized touch. Here’s a step-by-step tutorial on how to wrap a car bonnet:

Material you’ll need

  1. Vinyl wrap of your choice
  2. Squeegee or felt-edged applicator
  3. Heat gun or hairdryer
  4. Isopropyl alcohol and lint-free cloth
  5. Cutting tools (utility knife, precision blades)
  6. Masking tape or painter’s tape
  7. Optional: Removing tools (for badges or accessories)
  8. Patience and attention to detail

Step-by-Step Guide:

  1. Prepare Your Workspace

    • Choose a clean and dust-free area to work on your car. A garage or a shaded outdoor space is ideal.
    • Ensure the temperature is appropriate for vinyl installation. It’s best to work in moderate weather conditions (around 60-80°F or 15-27°C).
    • Make sure your car’s bonnet is thoroughly cleaned. Wash it with soap and water, then wipe it down with isopropyl alcohol to remove any residues.
  2. Gather Your Tools and Materials

    • Unroll your vinyl wrap and cut it to the approximate size you’ll need for the bonnet. Leave a few extra inches on all sides.
  3. Position the Vinyl Wrap

    • Start by centering the vinyl wrap over the bonnet. Use masking tape or painter’s tape to secure the top edge of the vinyl to the bonnet’s edge.
    • Carefully drape the vinyl over the bonnet, allowing the excess to hang over the sides.
  4. Smooth Out the Vinyl

    • Use a squeegee or felt-edged applicator to begin smoothing out the vinyl from the center outward. This helps to prevent air bubbles and wrinkles. Work in small sections at a time.
  5. Apply Heat and Stretch

    • Use a heat gun or hairdryer to gently heat the vinyl as you continue to smooth it out. Heat makes the vinyl more pliable and easier to stretch around curves and edges.
    • If the vinyl needs to stretch to fit around corners or curves, apply heat and use the squeegee to carefully press it into place.
  6. Trim Excess Vinyl

    • Once the vinyl is mostly applied and smoothed, use a utility knife or precision blade to trim away the excess vinyl along the edges of the bonnet.
    • Be very careful not to cut into the car’s paint or finish. Use a gentle touch and make precise cuts.
  7. Work Around Details

    • If your car has badges, emblems, or other accessories on the bonnet, use cutting tools to carefully trim around them.
    • Apply heat and use the squeegee to press the vinyl around these details for a clean and professional look.
  8. Finishing Touches

    • Use the heat gun to gently warm the edges of the vinyl and press them down firmly with the squeegee. This helps to ensure a secure bond and prevent peeling.
    • Inspect the entire wrap for any air bubbles or wrinkles. Use the heat gun and squeegee to smooth them out.
  9. Final Inspection

    • Step back and inspect your work from different angles. Make any final adjustments to ensure the vinyl is smooth and properly applied.

Remember, wrapping a car bonnet requires patience and attention to detail. If you’re new to vinyl wrapping, it’s a good idea to practice on a smaller surface before attempting the bonnet. Additionally, follow any specific instructions provided by the vinyl wrap manufacturer for the best results.

Explore more Learn more.

How Did the Wrap Industry Start?

The wrap industry first gained traction in the early 90s with branding and advertising on taxis, then the transition to cosmetic vinyl enhancements took place.

Read More

Understanding Vinyl Wraps – Before Installation

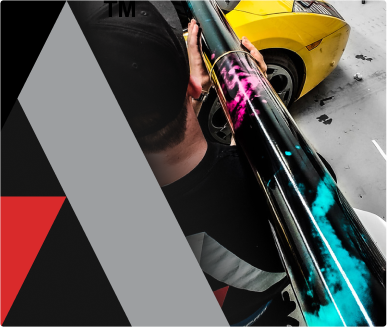
Explore the basics of vinyl wraps before installation: Learn about their PVC composition, layer dynamics, and maintenance tips to enhance longevity and appearance. Ideal for car enthusiasts and professionals.

Read More

Hi Quality Group Truck wrap

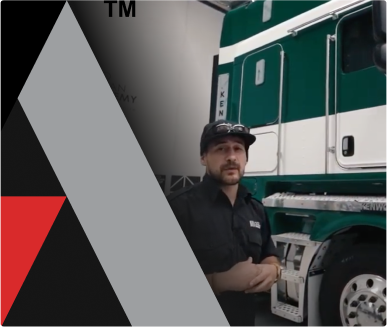
Thanks to our friends @Hiqualitygroup who delivered this brand new @kenworth from @gilbertandroach for our team to work our magic. With a steady hand and precut pinline we created a little more flair for this great looking rig.

Read More